Olympus FV3000 Startup / Shutdown
Olympus Startup
The cabinet to the left of the microscope houses most of the switches to flip. Open the cabinet by pushing up on the silver latch.
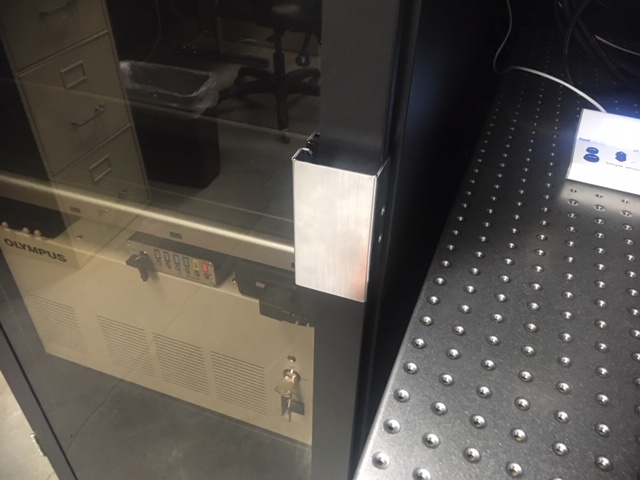
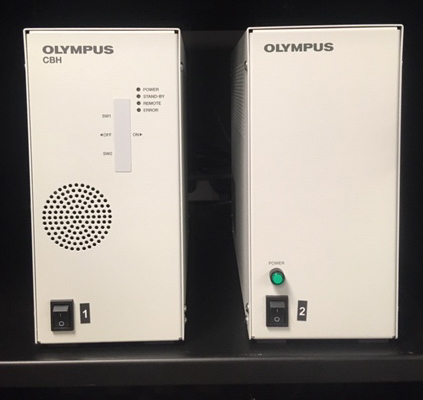
1) Switch on the CBH box (#1) (top shelf). WAIT FOR THE BEEP, and then switch on the stage controller (Box #2) (to the right).
2) Next switch on the touch Panel Controller (#3). The button is on the top right of the back of the device (behind the 3 label, green arrow). Press and release the button quickly.
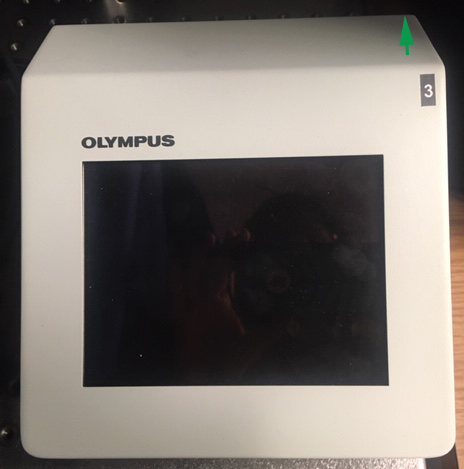
Now, BE PATIENT! This device must boot up, and if you keep clicking on the button, you will crash it. Wait for it. This is a good time to make your initial entries into the logbook on the computer desk (date, name, PI, and start time).
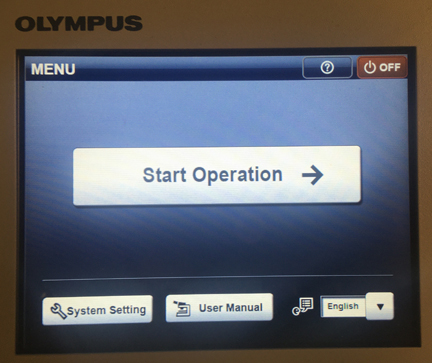
The panel will go through a series of screens, but when you see the one below, you can proceed with the rest of the startup.
3) Go back to the cabinet and the big white box one shelf up from the bottom. Turn the key (#4) clockwise to “on”. Flip switch #5 to “on”.
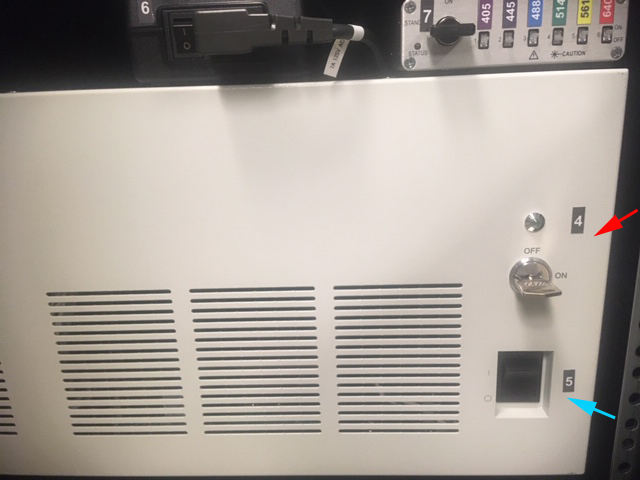
4) Power up the lasers. Box 6 is a small black box on top of the big white box. Switch it on. That will cause a blue light to appear on box #7 just to the right.
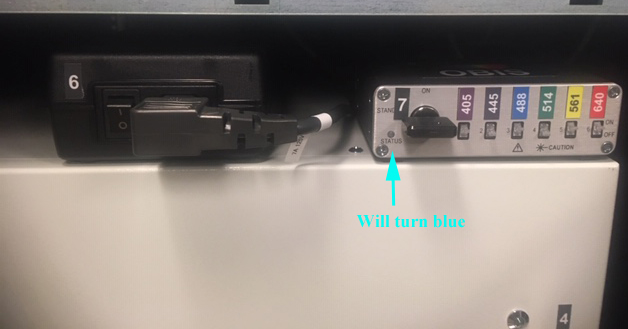
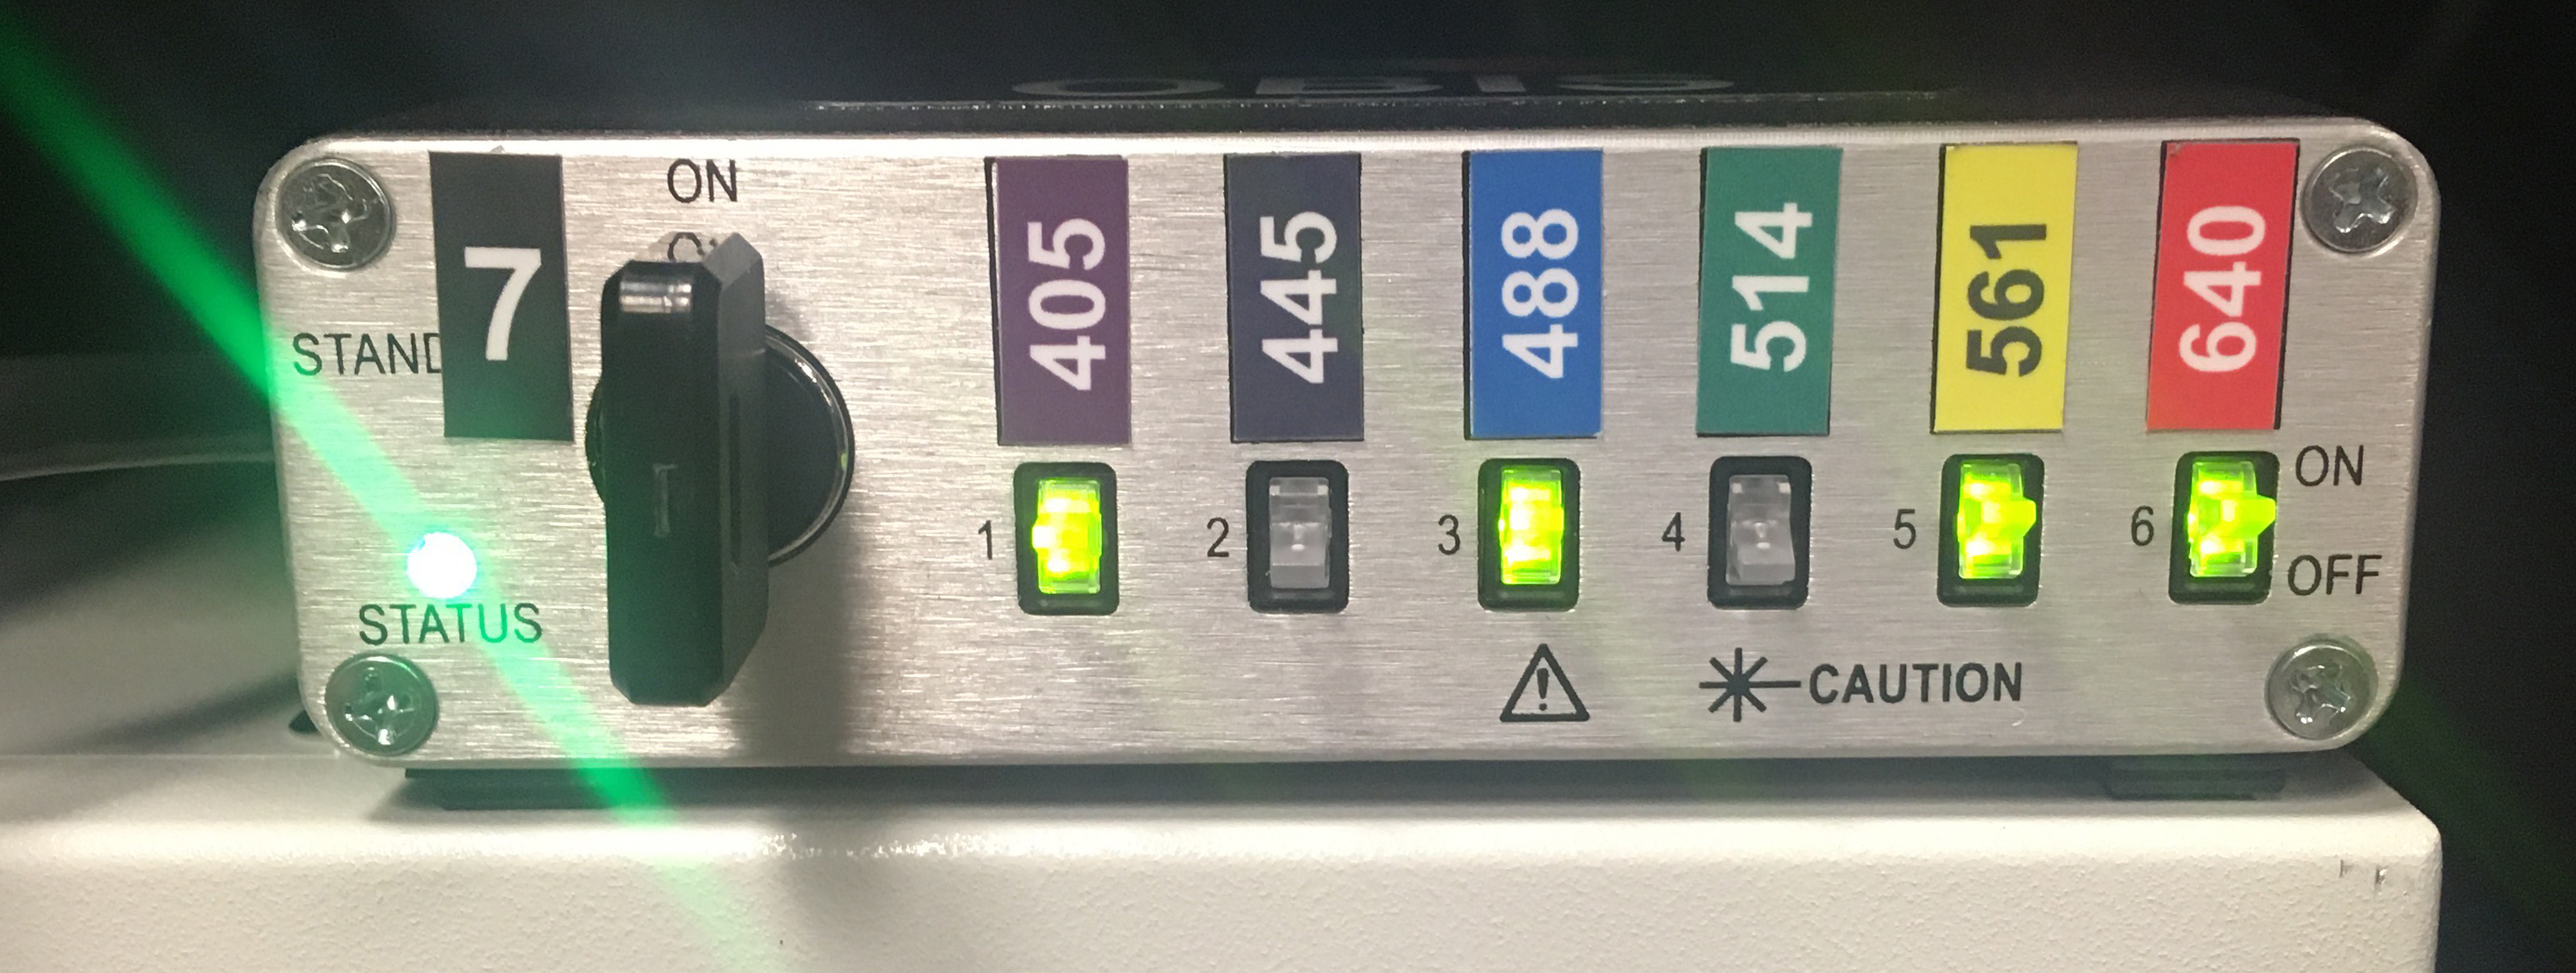
5) Turn the key on box #7 clockwise. The blue light should turn green. There are switches for each laser line (405, 445, 488, 514, 561, 640). When they are pushed up, they will be lighted, indicating that the laser is on.
You can switch on/off any of the lasers according to you needs at this point, or any time during your session. The laser modules are on the middle shelf; there is a blinking green light on a laser that is warming up, which turns blue when it is ready.
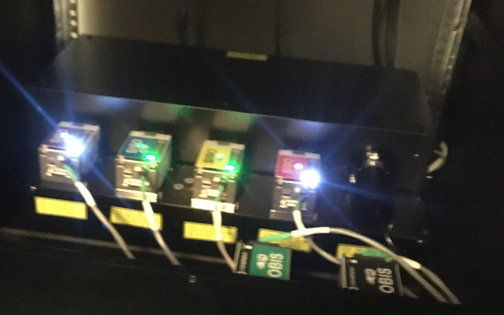
The lasers warm up quickly, and are ready for standard imaging in less than a minute. However, if you are doing scans for quantitative work, the lasers will be at their most consistent after 30 minutes (so maybe schedule after someone else if you are in a hurry).
6) Turn on the computer.
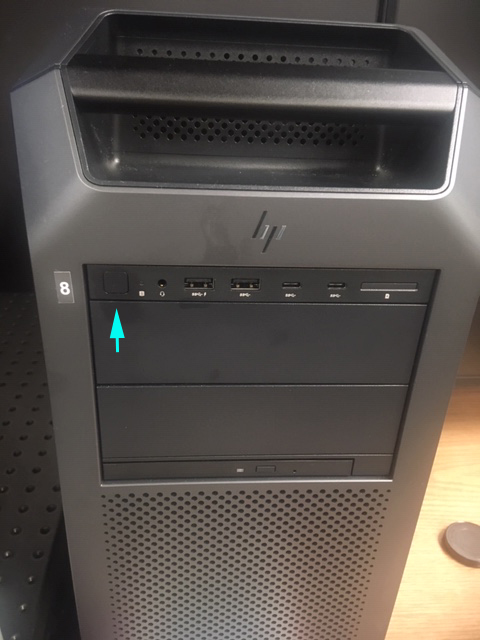
Log in with your CougarNet account. Double click the “Acquisition FV31S-SW“ icon on the left side of the screen to start the Fluoview software. You’ll see this screen:
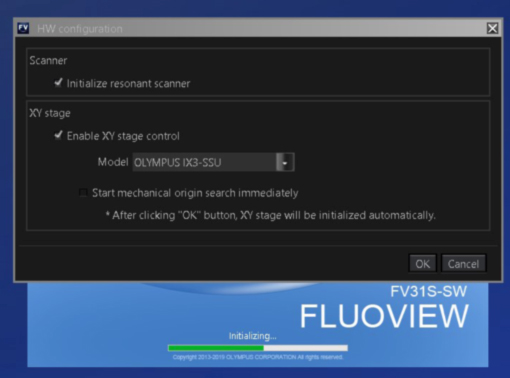
Click “OK”. The next window will ask if you want to initiate stage cleaning. If you are the first user of the day, you should click “yes”.

The next window is to confirm that a small objective (10x or 2x) is in the home position. If the last user followed the shutdown instructions correctly it will be. If not, click “cancel”. If you click “ok” with a large objective in place, the system will abort the cleaning process. We leave any stage inserts out until the start up process is finished.
Shutdown
1) Clear the stage and if you used any oil objectives, wipe them clean with the lens paper provided (should be on the computer desk). Finish filling out the logbook. Make sure the epi-lamp switch is “off”.
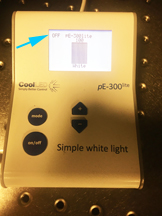
2) Put the 2x or 10x objective into the home position. This will allow the next person who starts up the system to perform the stage cleaning function.
3) Exit the Fluoview software. If there is another user scheduled within 2 hours, leave everything on, and note that in the logbook.
4) Transfer your data from the D drive to the BBIC server. You can leave data on the D drive short term, but you are encouraged to move it to the server and ultimately your own storage devices long term.
5) If you are the last user, shut down the computer.
6) Switch off #7,6, 5, & 4, in that order.
7) Press the brown “OFF” button on the panel of Box3. The screen will then give you this window:
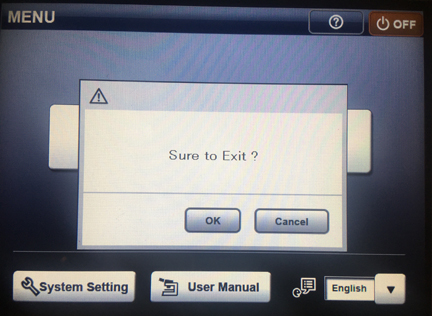
Click “OK”, and when the Blue Olympus screen appears, press and release the on/off button in the back. Turn off box 2, then 1, and cover the microscope.
