FV3000- making and using a reference map
Our FV3000 is equipped with a IX3-SSU scanning stage, which allows users to switch easily between high and low-mag objectives, and to precisely register up to 8 separate X, Y coordinates. With the MATL function you can create a complete reference map of large specimens, and use it as a guide to zoom in on areas of interest for imaging with high N/A objectives.
Depending on the size of your specimen, you will most likely use the 2x or 10 objective. While you can have the Z-series enabled, for most maps a single Z plane will be sufficient.
A reference map is limited to a maximum of 3 channels, so if you have 4 or more, you will need to decide which 3 to use. To inactivate a channel, uncheck the box (cyan arrow) next to the channel detector controls in PMT setting window. This will also inactivate the associated laser line.
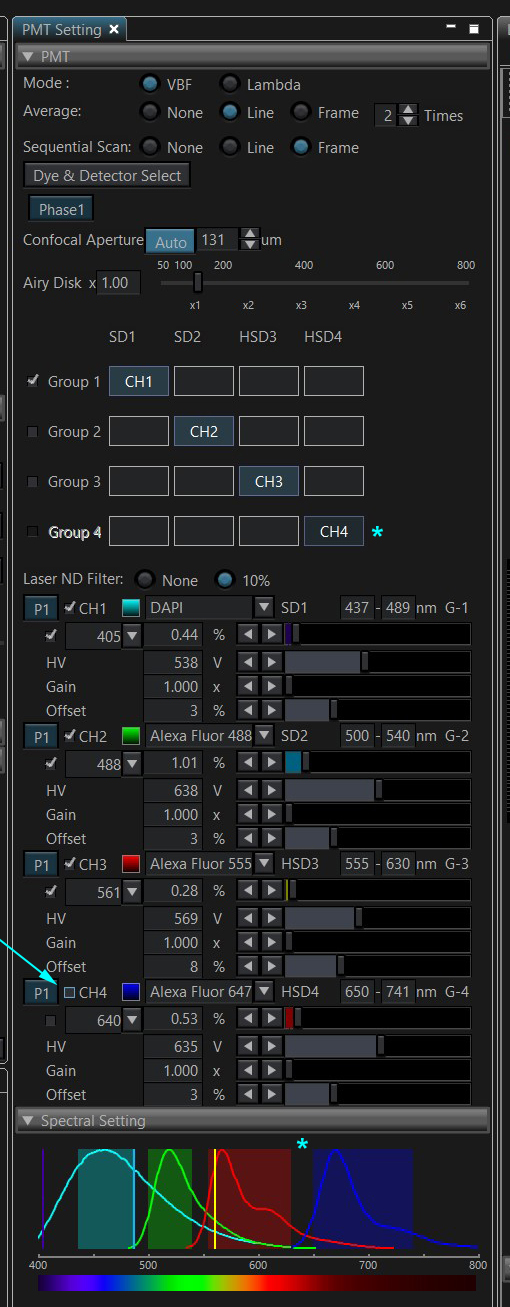
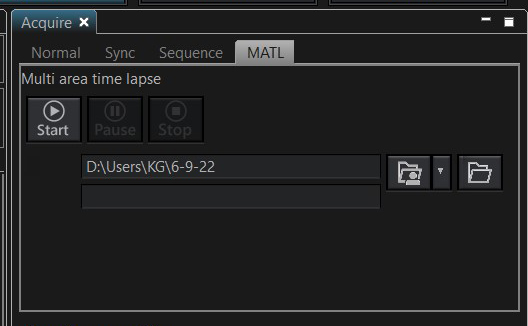
Live scan your specimen and adjust your settings. To generate a reference map, switch from “Normal” mode to “MATL” mode in the Acquire window:
Use the “>” button (yellow arrow) to open the sub pane and select the “Map” tab:
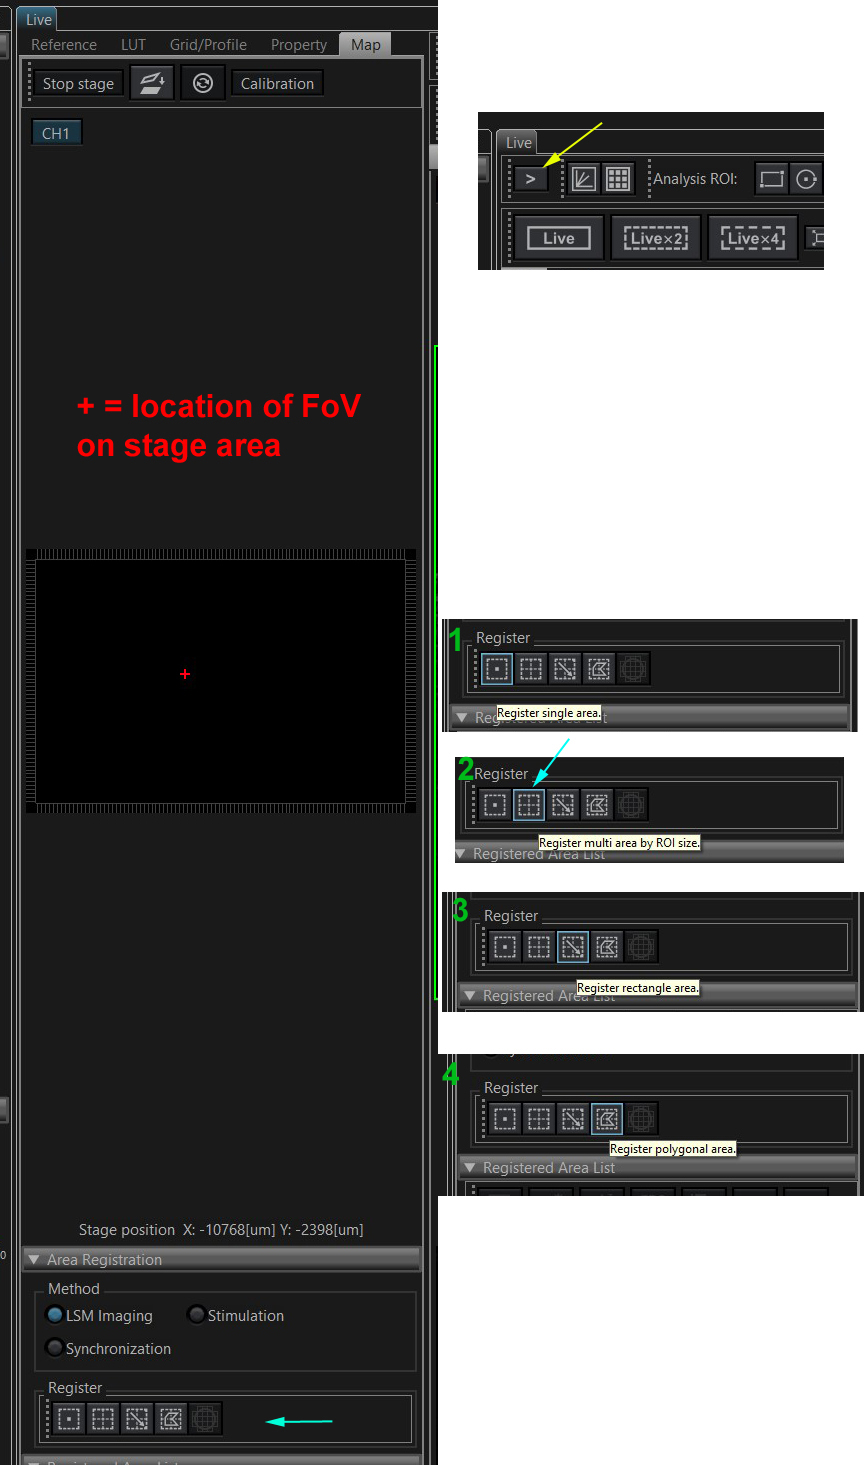
The middle of the top panel has a map of the entre stage area, with the X, Y location of the current field of view marked with a red “+”, and the actual coordinates listed at the bottom. Below that is the “Area Registration” panel which is used to define the region to map. There are 4 options: 1) “Register Single Area”, which will map just the current FoV, 2) “Register multi-area by ROI size” which allows you to define a matrix around the red “+”, 3) “Register rectangle area” lets you draw a rectangle anywhere on the stage map, and 4) “Register polygonal area” lets you draw any closed shape you wish anywhere on the stage map. In this example, option #2 is used. Clicking the button opens the ‘Define Matrix” panel:
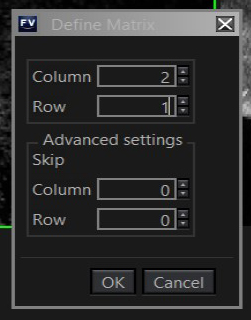
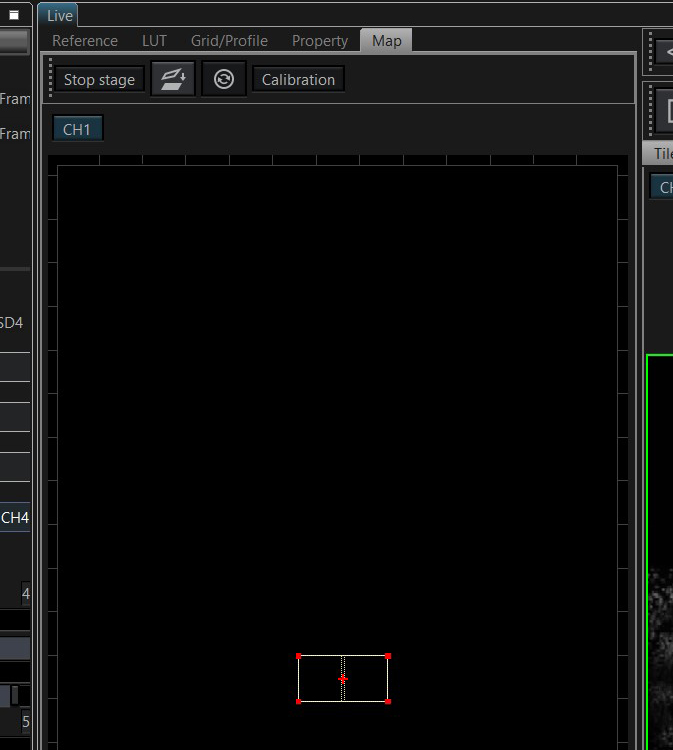
These settings define a simple 2-stack pattern, which will look like this on the stage map:
Defining a map area also populates the “Registered Area List” panel. Click on the line with the area parameters (red arrow) to turn it blue and activate all the controls on the panel. Make sure to check “OverlayMap”.
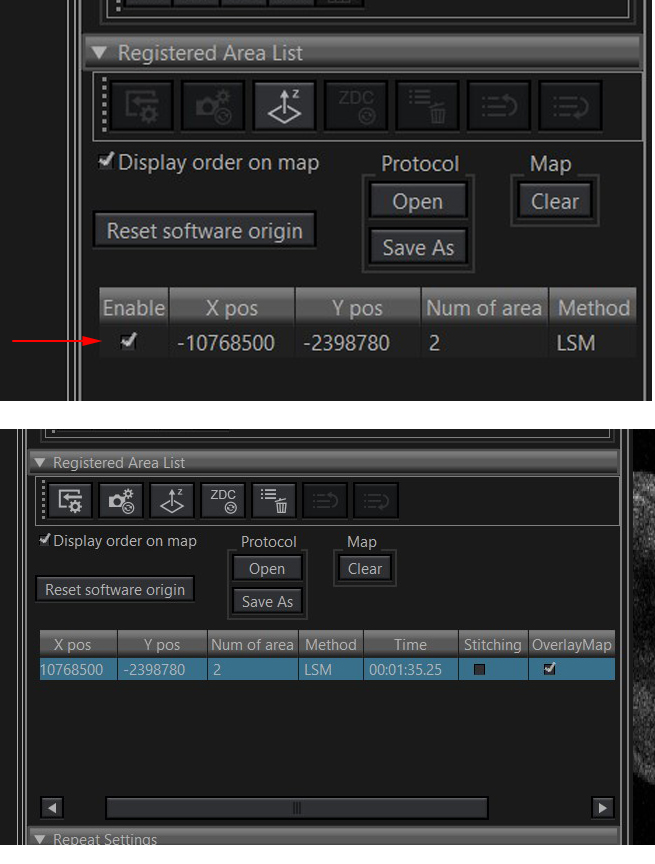
If you make any changes to the settings (change detector voltage, turn off Z series, etc.) after you have defined your map area, you must click the “Update acquisition parameters” button for those changes to register. It is a good idea to always click this button right before you start your scan:

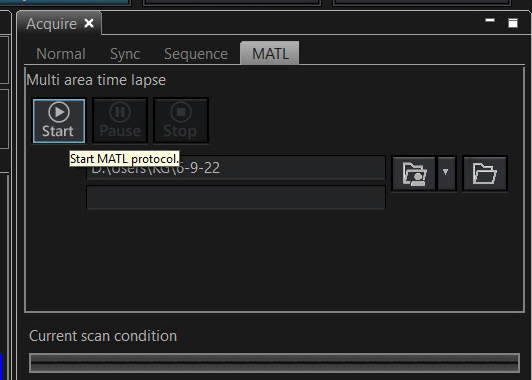
Click “Start” to acquire the map:
The image will appear in the map window. You can scroll on it with the mouse to zoom in on it.
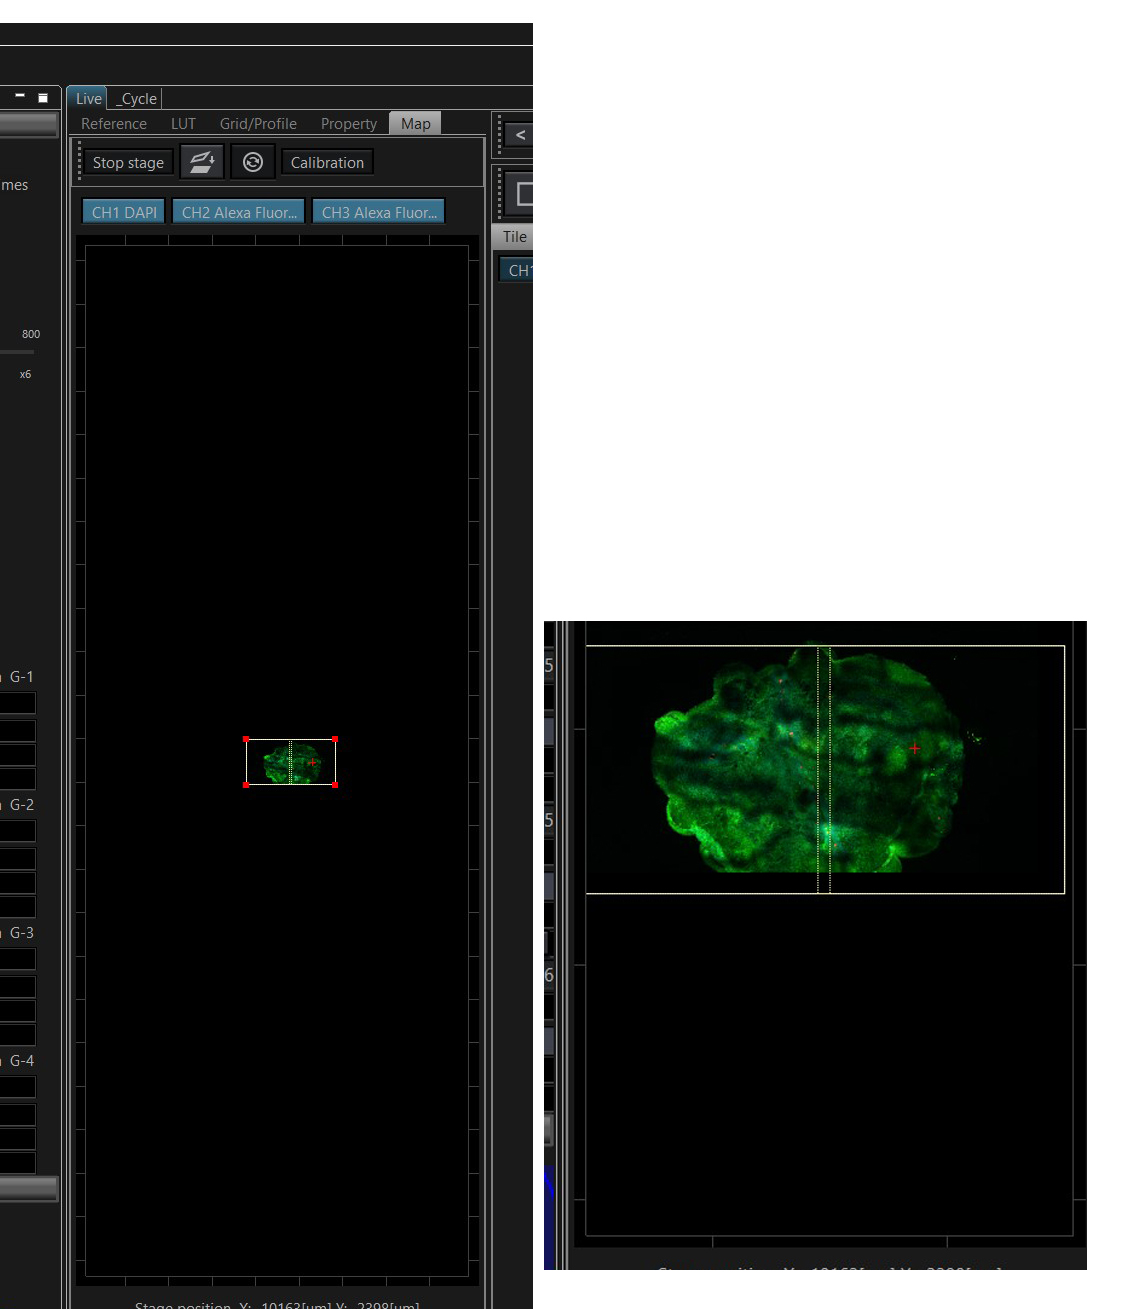
You can double-click anywhere on the map image to move the red “+” to a new field of view:
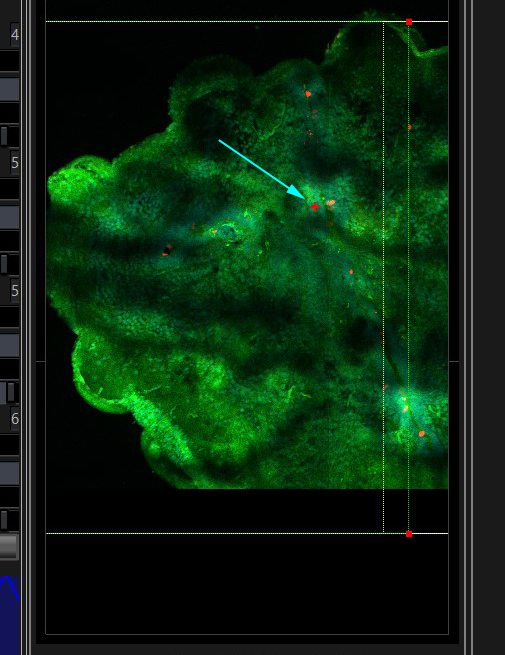
The X,Y coordinates of regions of interest (up to 8) for higher mag scans can be stored in the scanning stage. You can also define these regions within MATL mode (be sure to uncheck “OverlayMap” and check “stitching” in the registered are list. A reference map can be erased by clicking the “Clear” button.
