Virtual Channel Scans on the Olympus FV1000
The Olympus software has 3 channels that can be used all at once to detect separate fluorescent signals, but via use of virtual channels, it is possible to image up to 12 different fluors simultaneously.
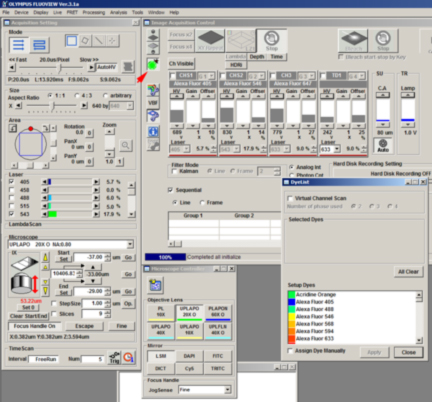
To set up virtual channels, select the “DyeList” (green button):
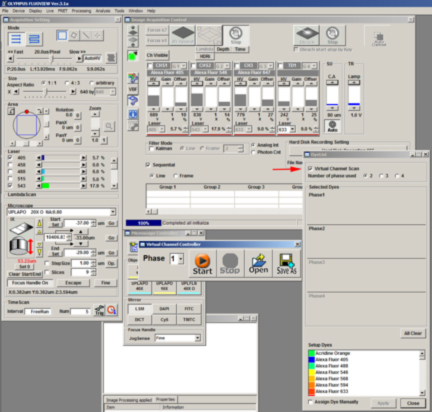
Click the Virtual Channel Scan option, and the Phase sections will appear in the “DyeList” window. You can choose up to 4 phases:
Drag and drop the desired dyes to the selected phases. Dyes with a wide emission window, such as DAPI, are good choices to put in a phase by themselves when possible.
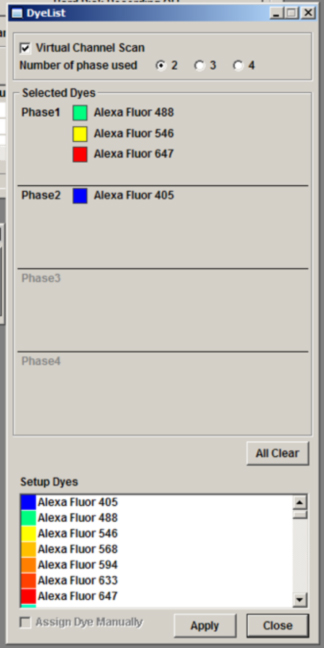
Click “Apply” to set the dyes. The dyes in Phase 1 will appear first. Set levels and Z coordinates (if needed) for these channels.
Use the “Virtual Channel Controller“ window to change phases:

Adjust settings / check Z-stack setting for the dyes in phase 2:
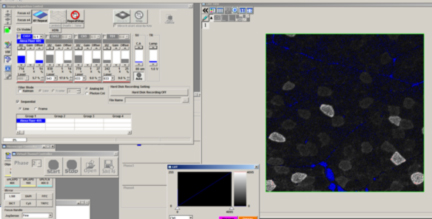
Start the scan by pressing the orange start button on the “Virtual Channel Controller“ window. If you are doing an xyz scan, the 2nd number under the Phase selector should be the number of phases X the number of slices (in this example 2 X 10).
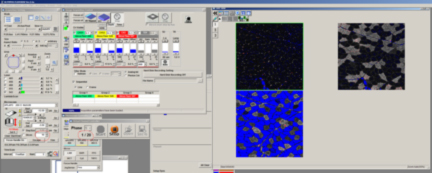
Phase 1, plane 1 will scanned 1st then the software will go to phase2, plane 1:
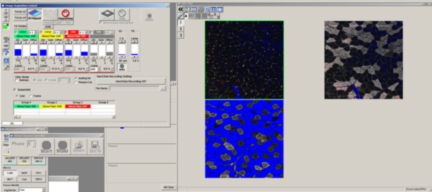
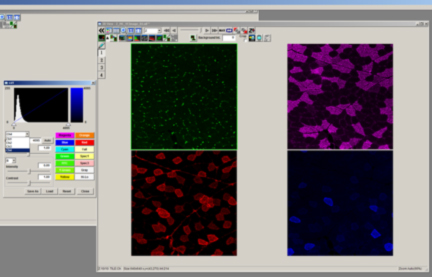
After the scan is complete, all the channels will be put together in the 2D viewer. Here channel 1 from phase 2 becomes channel 4:
Virtual channel scans cannot be used in combination with Multi Area Time Lapse or x-z slices.
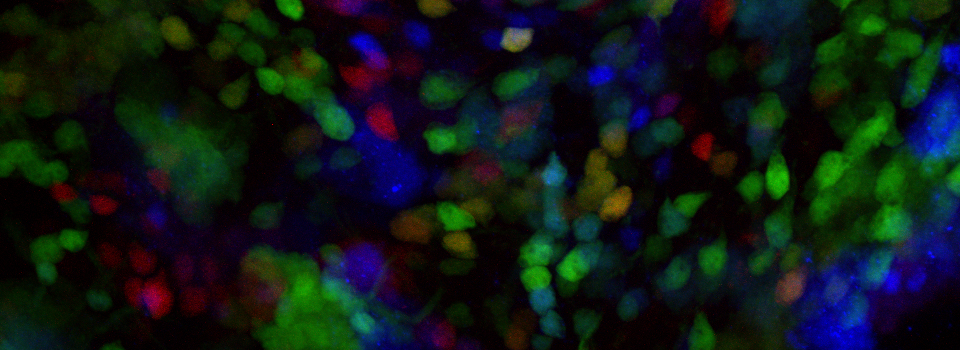
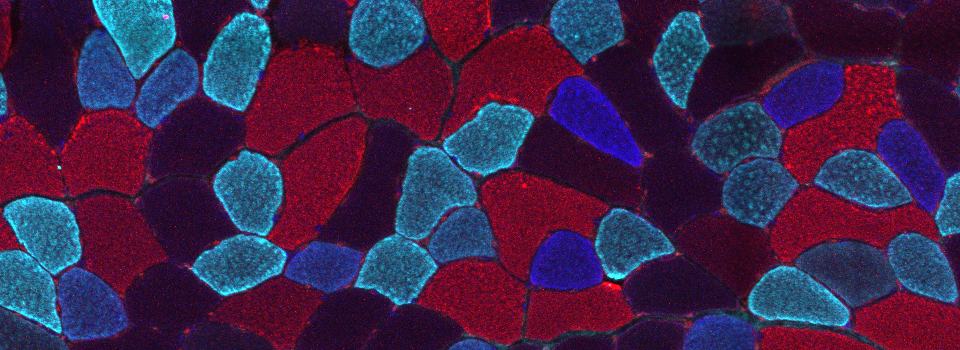
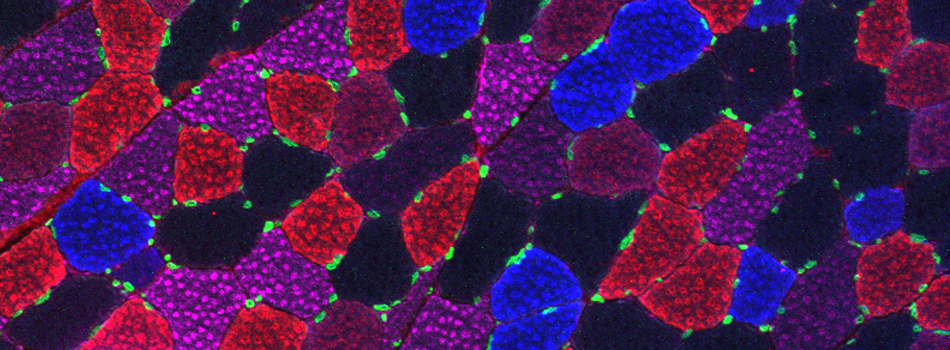
(Thanks to Lyle Babcock from Mark Clarke’s Lab, HHP, for the quadruple-stained sections of rat leg muscle used in this demonstration.)
