Doing Photo-conversion on the Olympus FV3000-Part II
Example 2: Photobleaching and photo-activation of Dronpa
This section describes how to set up the FV3000 sequence manager for performing photo-stimulation with more than one laser line. This example will use the GFP variant Dronpa. Dronpa can be photobleached with the 488 nm laser, and reactivated with the 405 nm laser.

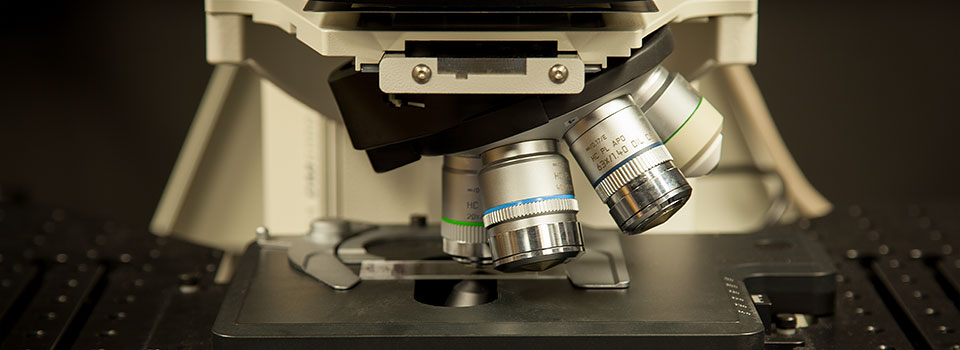
For this example I wanted to only photo-activate a smaller ROI within the photobleached ROI, so I used the PLAPON60XOSC2 objective, because it is much better at focusing 405 nm light then the air objectives.
Start by setting up a Z-stack for an area of interest in your specimen. Remember to optimize the number of pixels.

Create an LSM task in the Sequence Manager window.

The first photo-stimulation will use the 488 nm laser to bleach Dronpa.

The laser settings will be educated guesses on your first attempt. With experience you will learn the best settings. Here we are starting with the 488 at 5% power with a scanning speed of 40 us/pixel. Add the Stimulus task and then a post-bleach LSM task.

The 2nd stimulation will use the 405 nm laser, which will reactivate the Dronpa fluorescence. It is important to remember that while the software will remember the conditions for the first stimulation event, the LSM Stimulation window can only show the most current settings, and once you make the chances for the 2nd stimulus event, you will no longer be able to see the settings for the 1st event. So you should write those down in your notebook!
Turn off the 488 nm laser, check the box next the 405 nm laser. Delete the stimulus old ROI and draw a new one in the region you wish to expose to the 405 nm light. Here the 405 is set at 1% power with the same scan speed (40 us/pixel).

Add the 2nd stimulus task and a final LSM scan in the Sequence Manager window.

Here are the images from the 1st run (in Hi-Lo mode to show pixel intensity):

The post-405 shows greatly increased fluorescence outside the ROI, which indicates too much laser.
After increasing the scan speed to 2 us/pixel and lowering the 405 laser power to 0.75%:

This is better, but there is still photoactivation outside the 2nd (square ) ROI.
After lowering the 405 laser power to 0.26%.

After lowering the 405 laser power to 0.05%.
